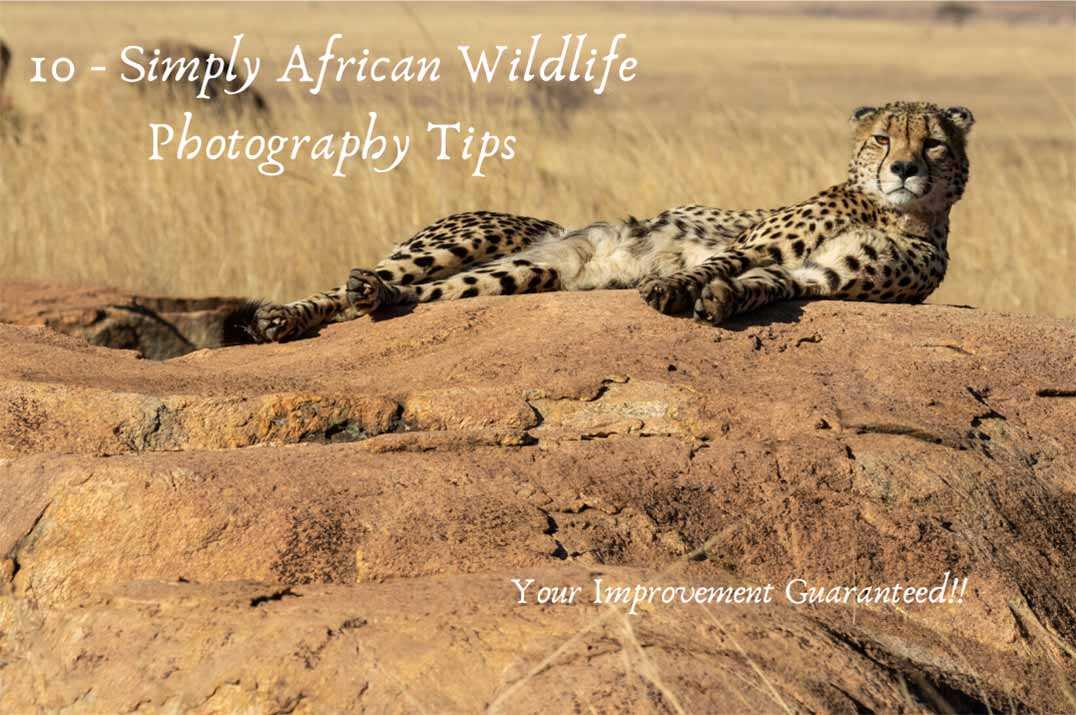
10 Simple African Wildlife Photography Tips
There is always something we as photographers can do better. Just as with most things in life, there is always room for improvement in almost everything we do.
As wildlife and nature photographers it could mean upgrading/changing equipment, like our cameras or lenses which in many cases is not an option and certainly not always necessary. In this post, I have put together 10 simple African wildlife photography tips anyone can follow. It will bring not only your African wildlife photography but and animal or bird photography to that next level of excellence.
Photographing wildlife can be difficult at the very best of times, so why make things harder
Often small changes in the way we approach a ‘task’ can make a whole lot of difference. Wildlife photography is no different; small changes in your approach to taking photographs of your chosen subjects can and does make for better wildlife photographs.
So, let’s kick off the “10 Simple African Wildlife Photography Tips”
10 Simple African Wildlife Photography Tips - Table of Contents
1. Preparation
Planning
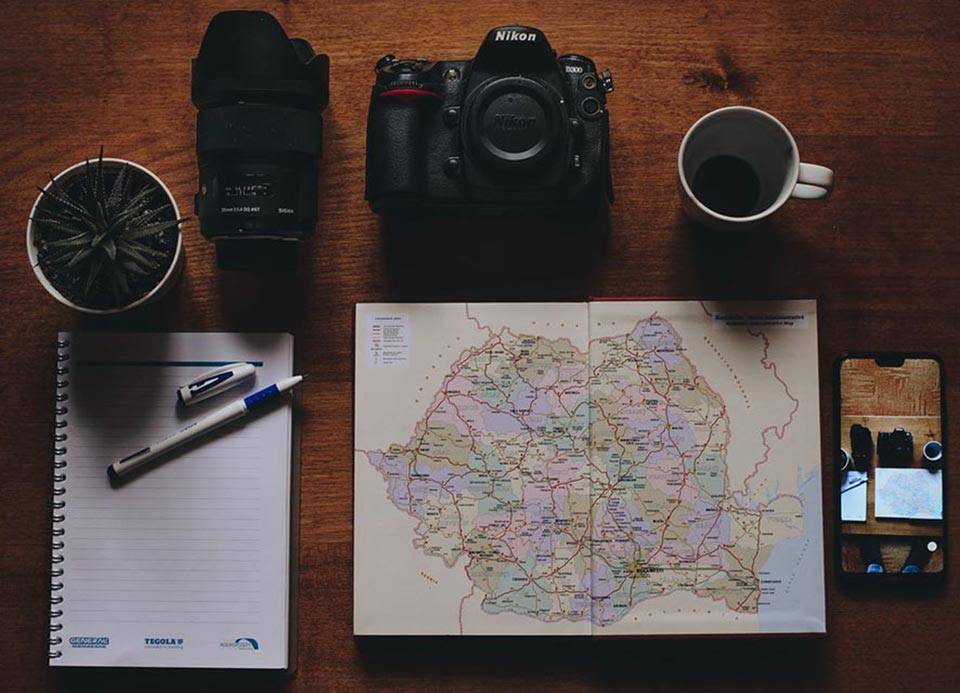
If you’re planning a trip to photograph animals and birds in their natural habitat, preparation is everything. This may include scouting for good locations, which may sound silly, but is well worth doing. Spending just a couple of hours on the internet researching may save you days in the field. This is one of my primary African wildlife photography tips and can’t be stressed enough as to its importance. We often pay lots of money to travel around the world and stay at lodges, so ensuring you plan well and not to be disappointed when you get to a location is pretty important.
For example, if large mammals like Africa’s Big 5 are your targets, then I recommend to my clients that want to photograph them during any of my Kruger Park Safaris to plan to book for the ‘winter months’ in South Africa when the ‘bush’ is sparse and less dense and the grass is not long. This simple bit of planning greatly enhances your chances of some great photographs.
I often look at local African wildlife photography and nature forums, wildlife enthusiast sites and certainly Facebook groups for helpful information. You can bet that if you’re interested in finding and photographing certain wildlife species, then others will be too. You’ll soon be able to learn from the experiences of others, which may include successful ‘locations’ and ‘recent sightings’ and possibly much much more . . .
If you have a good understanding of the location and of your preferred species, then you will be able to start predicting behaviour and undoubtedly increase your chances of success!
Knowing Your Gear
Another one of my essential African wildlife photography tips is ensuring you are taking the right equipment with you. This is very important, especially if you are travelling by air or hiking on foot to remote destinations. Weight can be a major contributing factor in both these instances so make sure you choose wisely.
In knowing your equipment, for example, you should understand the main features of your camera and how they work so that in the field you can adjust your settings without having to think about them. Any ‘photography tips and tricks’ article will tell you this.
This sounds cliché but you know it’s true. Really great action-packed moments in African wildlife photography or any wildlife photography for that matter lasts on average (based on my experience) between 5 and 30 seconds. If your camera’s ‘settings’ and how to adjust those are not 2nd nature or even the abilities of your chosen lens, you will either miss the shot completely or incorrectly expose the shot resulting in disappointment.
African Wildlife Photography Tips: Definitely know your camera and lens.
- Know what the minimum shutter speed is with which you can obtain a sharp image with your own camera/lens combination
- Know the additional margins (Shutter Speed/Aperture/ISO) that the in-camera or in-lens stabilisation gives you.
- Know how to quickly toggle between focus points or your focus modes.
- Know how high you can push your camera’s ISO setting and still achieve acceptable results.
2. Get Low For a Bigger Impact
One of the biggest African wildlife photography tips I can give but is not often used by wildlife photographers is that in order take great wildlife photographs you should get low, change your perspective to that of the animal, for a look into their world. A good wildlife photograph is rarely taken looking down or up at the subject.
You will see many instances in a good wildlife photo where the camera is almost always on the same level as the subject if not slightly lower. The ‘point-of-view’ of a wildlife photograph is just about everything. How you portray your subject can make all the difference in the world. In short, try to get an eye-level perspective (even lower if possible). This brings the viewer of your image right into the scene and confronts them with the view of the world from your subject’s perspective. Obviously “eye level” is relative (you will pretty much always be at a lower perspective than for example, a giraffe), but you get the idea.
One should always bear in mind any constraints the local environment places upon you as a photographer. For example, in many particularly ‘Big 5’ game reserves in Africa you are not allowed to get out of your vehicle in the field. This restricts you to a certain perspective of course.
3. Speed Up
As you gain experience and confidence in the field you will find that the photographs of the animals you take will be of their ‘actions’ and interactions. In order to ensure we capture them we need to generally (not always) ‘freeze’ these ‘special’ moments that the animals give us.
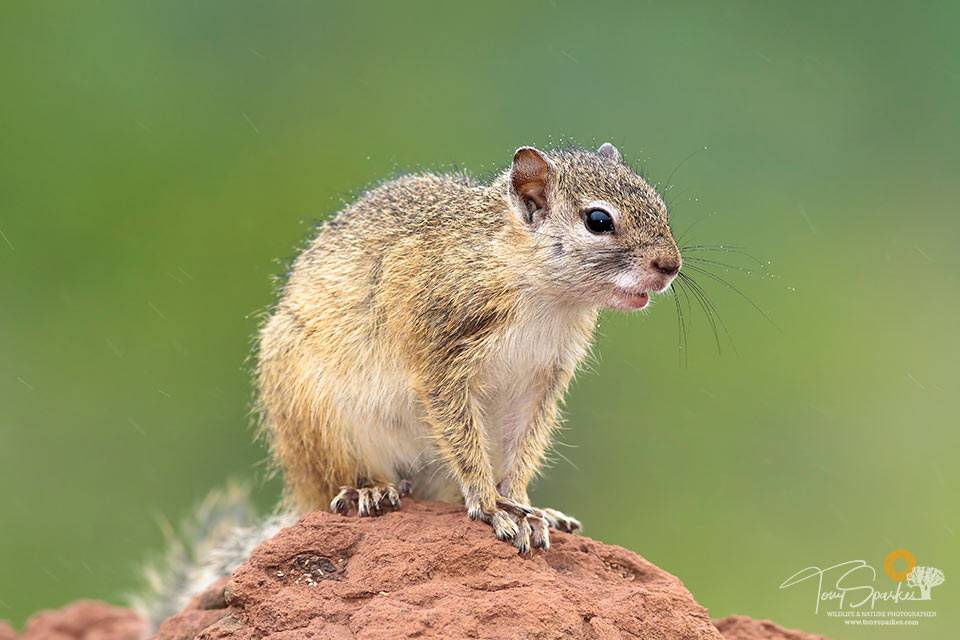
Most of the time, wildlife is photographed with a telephoto lens. Long lenses exaggerate camera shake because a small ‘movement’ of the camera results in a large movement of the picture frame. You, therefore, need to use a faster shutter speed to get sharp shots. It’s easy to end up with ‘blurry’ wildlife photographs if we are not careful. Therefore, we need to apply certain rules to ensure your photos stay sharp.
This ‘fast’ action is best captured with a fast shutter speed. This allows you to freeze the ‘special moment’ without motion blur. To achieve this a good rule of thumb is to ensure you and or your camera sets a 1/1000th of a second or higher shutter speed, which is good for fast action. Most animal encounters can be shot at 1/1000th of a second to freeze an especially fast creature, like a running antelope or birds in flight.
Of course, you may need to adjust other camera settings to achieve such a shutter speed based on the lighting conditions at certain times of the day. When shooting on an overcast day for example or when the sun is low in the sky, plan on dialling up your ISO to a 1000 or more to maintain your shutter speed and thus a correct exposure. Nowadays with newer cameras, there is far less noise in an image even with really high ISO levels so do not be deterred in setting higher ISO’s and when there is noise in an image, it’s normally fairly easy to remove
4. The Eyes Have It
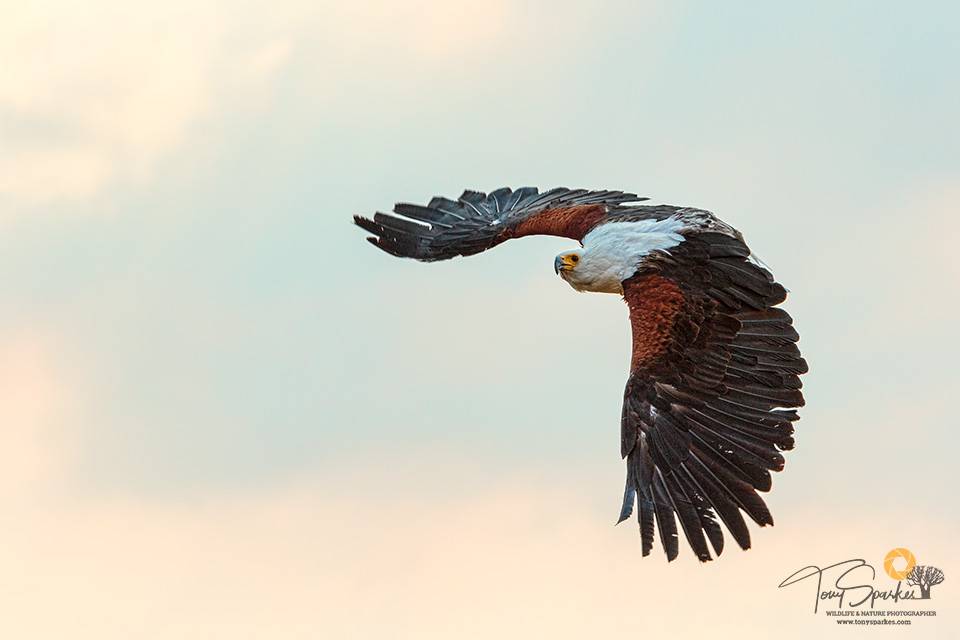
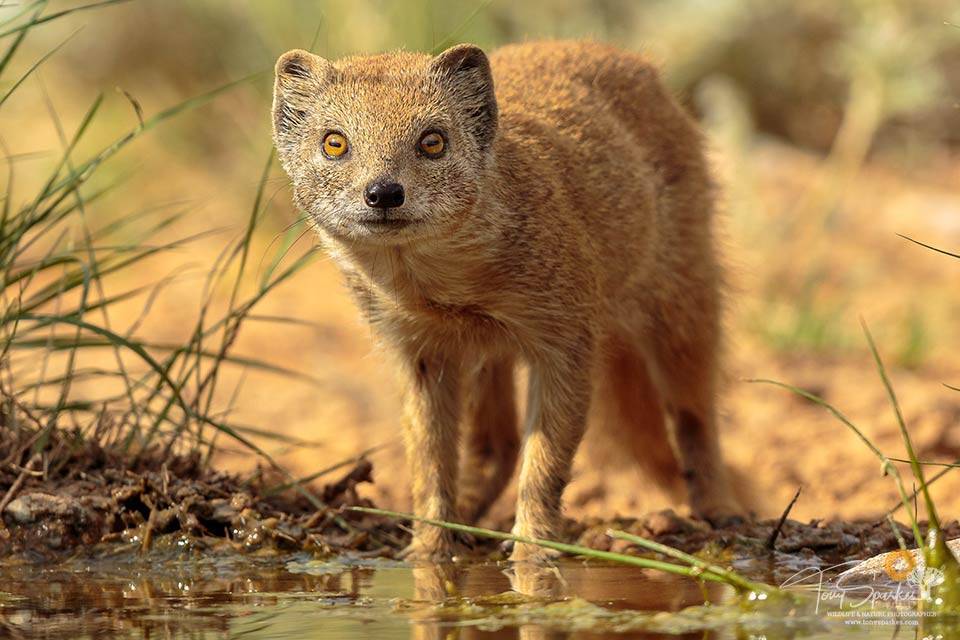
Often many photographs can be saved from the culling process by ensuring the ‘eyes’ of the animal or bird in the image are at the very least sharp. By focusing on the eyes, the rest of the animal becomes less critical for sharp focus. Eyes are the most ‘attention-grabbing’ of those viewing your image, as the ‘eye’ of the subject in the image is the strongest element in your photo. Therefore, this element needs to be well illuminated and more importantly, IN FOCUS.
The closer you are to an animal the more important eyes become as the depth of field increases. Try using a ‘single autofocus’ point and place it on the eye of the subject, while maintaining your composition. This is a technique I use often when I set my camera to a single focus point and focus this on the eye of the animal, so I know it works well.
5. Light Light and More Light
I think most wildlife and nature photographers, whether you are beginning your wildlife journey or coming to the end of it, know that good light can turn an average photo into an outstanding one. Armed with this snippet of information the ‘best’ time for photographing wildlife is undoubtedly around sunrise and or sunset.
Wildlife Photography Tips for Beginners
This is one of the first pieces of knowledge that stuck with me when I started my journey and I started shooting; try and abide by the hours of ‘golden light’. This, unfortunately, for many of us, means getting up early in the morning and being in the field before sunrise, and/or going out in the afternoon to make the most of those last hours of sunlight. Believe me, it’s well worth it though.
Dawn and dusk are ideal times for shooting wildlife photography. Not only will you avoid the harsh midday sun, but many animals are more active during these hours because the temperature tends to be generally cooler. However, if you’re trying to photograph a certain species, do some research (as in point 1) to determine the best time to begin shooting.
An Exception to the Rule
The strong light between 10h00 and 16h00, in Southern Africa, is generally very harsh and provides deep shadow and harsh contrasts. There is, however, one exception to this; that exception is on an overcast day when the clouds act as a huge softbox to filter the light evenly. No harsh shadows and contrasts are soft and even. It’s on days like this I tend to shoot all day if there are subjects to photograph.
Different Types of Lighting – Different Effects
Since photography is all about ‘painting with light’, you need to know how to use light to your best advantage, particularly in wildlife and nature photography. Below are a couple of types of lighting, widely used with great effect in wildlife photography.
Side Lighting
As you might have guessed ‘side lighting’ is when the lighting is coming from the side. Side lighting is the “half-way” house between front and backlighting, so it combines characteristics of both.
This type of lighting tends to show off ‘texture’ and ‘contours’ very well, so it is the lighting style of choice amongst landscape photographers.
However, in our wildlife sphere side-lighting is rarely ideal. Side lighting usually provides a great deal of contrast, create long shadows but can also add depth to an image.
This type of lighting can add a ‘dramatic flair’ to some wildlife shots. As a rule, if you must use side-lighting, choose a shot where your subject is looking into the sun. Side lighting invariable shows off any face expression and especially the eyes (see point 4).
Back Lighting
It’s often said in photography circles that the ‘sun’ should always be behind you when taking a photo and particularly while photographing wildlife. Just forget about that if you want to create images that stand out from the crowd for their pure artistry and imagination!
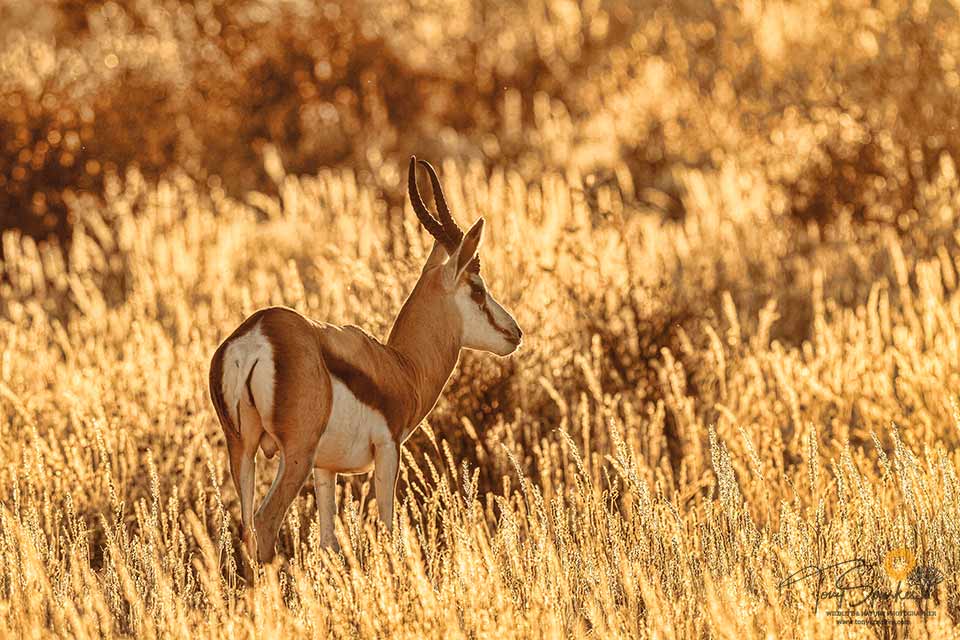
Backlighting is when light is behind your subject and is directed at you and your camera. I love shooting in backlighting, especially at sunrise and sunset. This type of lighting creates silhouettes quite easily but also combined with certain atmospheric conditions such as fog or airborne dust, the photographer can get dramatic lighting effects.
I also find that the use of ‘backlighting’ serves to emphasize depth, giving an almost three-dimensional effect to one’s image. Backlight also has a tremendous way of accentuating shape and its texture. You will find that the subject is set off from its background by being rimmed in golden light.
Creatures of all kinds provide us with such great opportunities to use this technique, because of their hair, fur, feathers or scales that cover their bodies.
6. Background
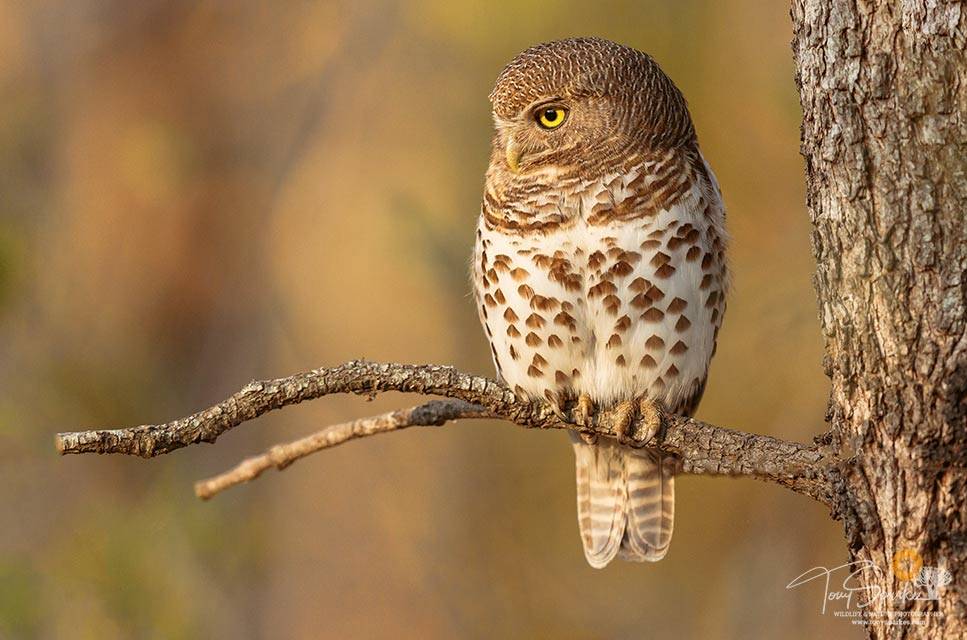
So often we see wildlife photographs with a very cluttered background that do not add any value to the image. Clear and uncluttered backgrounds can often make or break a photo. Make sure it is clear of any unwanted distractions, such as bright spots or messy sticks of foliage, and ensure your subject stands out from the background.
There are a few ways you can achieve this while in the field.
Position yourself to find the best angle to take your photo
Let’s say you want to photograph a bird in a tree. From your current position and angle, you see power lines or the roof of the house next door in the background. However, if you moved to a better angle, you may be able to capture the trees green foliage as your background instead, which would be much better and more natural-looking. This may seem obvious, but one reason so many photos fail is that the photographer doesn’t bother to make this small adjustment and extra effort when they can.
Reduce the amount of background that is visible in your photo.
Again, you have a few options here. You can simply get as close as possible to the subject and using your largest (longest lens – say 400mm). This is a very easy technique as moving closer ensures the subject fills as much of the ‘frame’ as possible. Your largest lens (or the largest zoom part on your lens) narrows the field of view in a photo so that the ‘focus’ in on the subject, not on the surroundings.
Also, an advantage of a telephoto lens is that it has a naturally small depth of field. This means while your subject is in focus, everything in front and behind is a blur. This coupled with the simple photography knowledge that by dialling in a ‘wide aperture’ also produces a narrow depth of field.
So, if you are already using a large lens, and you add a narrow aperture (2.8 -5.6) as well, you reduce your depth of field to its absolute minimum. Now you should have a sharply focused subject emerging from a totally out-of-focus background.
The Last Straw
For perhaps finer removal of unwanted background items, many photographers can and often do remove unwanted items in their post editing workflow with software like Adobe’s Photoshop. I suggest that this, however, should be your last resort and kept to an absolute minimum.
7. Change your Perspective
Whatever your preferred species of wildlife to photograph a change in shooting ‘perspective’ can greatly improve and increase your portfolio of images. Even photographing common animals in your garden as I often do, is a great way to learn the necessary skills for wildlife photography.
Living in South Africa I am blessed with a plethora of subjects to photograph. As one may think, I do not solely concentrate and photograph the Big 5. Even when I do, I try and change my ‘perspective’. I have already mentioned above about getting low, also try shooting long, short and close, as I try and do with most subjects.
In shooting ‘long’ (with a telephoto) you can take a narrow ‘slice’ of the scene in front of you, isolate the best parts and cut out the rest. Why not try shooting the same scene ‘short’? Swap your long lens for a ‘wide-angle’ lens, in the right circumstances, it can make a great difference to a photograph. Try leaving space around your subject which allows you to use elements of the landscape to frame your subject, show the animal in its environment and perfect your composition by cropping later in post-editing. In some cases, you may get 2 photographs with one shot.
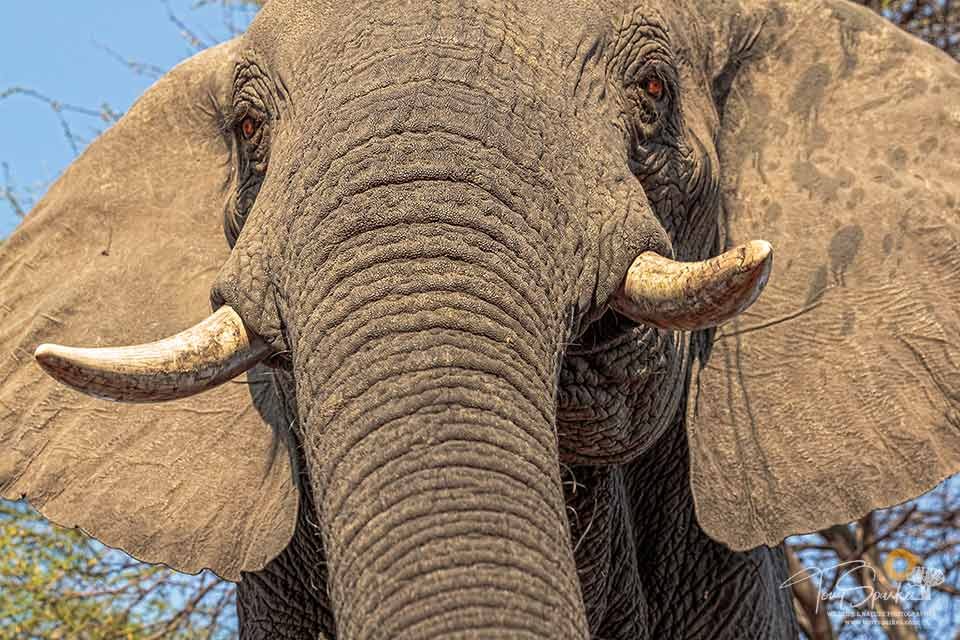
I also like getting ‘close’ to animals and birds. It is a great way to help your viewer connect to your subject. You can get ‘close’ by using a long lens of course or by moving and getting close yourself which I prefer. Long lenses, as I noted above, are great for making an animal appear closer. However, when your wildlife subject becomes too large, dangerous, or delicate to physically move closer yourself, this should be the only way you should approach them.
Whichever way you do it, getting close to animals (without disturbing them) will offer the viewer a connection. Details will emerge like the colour or textures in skin, fur or feathers and your viewer will begin to relate to the animal in the image.
8. More Information if You Shoot - RAW
Although we all often think we know how to expose our images correctly we often do not, that goes for the professionals as well. However, it is important to try and get your exposure correct in camera because with wildlife you may not get a second chance if you mess it up! However, all is not lost. To help us perhaps have that second chance at correcting our exposure in our post-editing workflow, try to shoot your images using the RAW format not JPEG if your camera allows you to.
This is one of the most important things you should do in wildlife photography. Shooting in RAW will ensure your image maintains all its details in the shadows and highlights, white balance, colours etc.. it preserves ALL the information so that you can process that image later if necessary, in editing software.
Non-Destructive
Another great benefit of shooting in RAW besides the obvious post-editing advantages is that any ‘editing’ you do is non-destructive. When you adjust a RAW file, you’re not actually doing anything to the original data. What you’re in-fact doing is creating a set of ‘instructions’ for how the JPEG or TIFF (another file format) version should be saved to your computer.
The great thing about RAW is that you will never ever have to worry about ruining an image, accidentally saving over one, or being unable to go back and make changes as you can always reset your adjustments, and start over again.
JPEG files lose quality every time you open them, adjust, and save again. So, if you’re making edits to JPEGs you must always duplicate the image and save a new version if you don’t want to lose file quality. This is a real hassle and a waste of storage space with possibly multiple images of the same thing.
We all Love Colour
Colour space is a topic on its own but with RAW you can choose any ‘colour space’ when you are ‘exporting’ it out, from your post-editing software so you can adjust your image depending on your situation.
For example, is the image going on to the web? Then output in the sRGB colour space to ensure maximum compatibility among web browsers. Are the files heading to a client? Save it in the common Adobe RGB (1998) colour space. Do you want the widest colour space possible? Use ProPhoto RGB.
Basically, there are different colour spaces that work best for different situations, and when you shoot RAW you can export a single image in multiple spaces! This is a great advantage.
Pro’s and Cons
Like most things, there are pro’s and cons when shooting in RAW. Some of the Pro’s I have already mentioned. As far as the ‘cons’ are concerned, for instance RAW images need to be processed, However, most photographers do some level of processing to their JPEGs.
RAW images take up more space. Which is indeed true being 2 or 3 times larger than a JPEG. But over the past few years, the cost of hard drives has really dropped, and they’re incredibly affordable.
These are a couple of the common Con’s but for me, the Pro’s far outweigh the Cons and by shooting RAW your ‘keepers’ should greatly increase.
9. Process Your Images
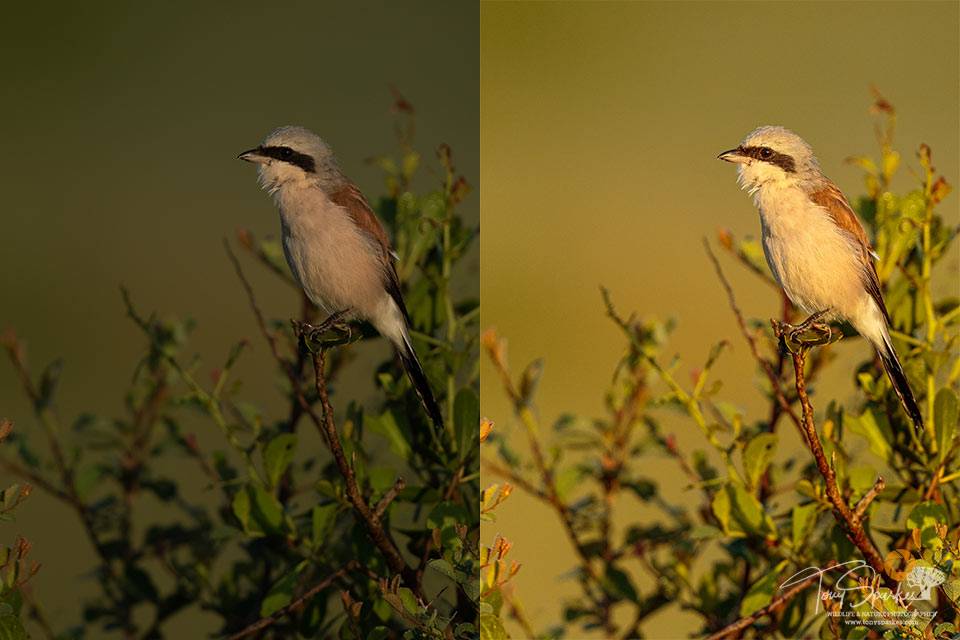
Unfortunately, the images you get straight out of your camera are not as good as they could be as mentioned in point 8. You really need to tweak aspects, such as white balance, saturation, colour, brightness, shadows and contrast in order to get them to ‘pop’. Again you will be surprised at the transformation of your image with a few tweaks here and there.
One of the most popular post-editing pieces of software today is Adobe Lightroom. Lightroom is the friend to all sorts of photographers, across all genres. Wildlife and nature photographers are no different. If you didn’t manage to get it right, in-camera, you can still possibly have an opportunity to change it in Lightroom, especially if you shoot RAW.
My Favourite Time
After spending hours in the field shooting various subjects, I must admit that when it’s time to head back to camp or home to review my work I find it almost as exciting as shooting the image. Those moments of ‘smiles’ as you select images for processing, the ‘sighs’ of disappointment as you delete the images ‘you almost had’ just remind me, why I do what I do.
Just a few Simple Steps
This article is not about my ‘post-editing’ workflow, that can be for another blog post but here are just a few quick pointers on what I do before I choose to spend ‘time’ processing an image. So before processing my wildlife photography images in Lightroom, I assess the following:
- Histogram: To ensure highlights have not been blown out;
- The sharpness of the eyes: (For example can it be sharpened to my satisfaction), the detail around the eye, face etc..
- Opportunity for composition. With wildlife photography especially action shots, a bit more image ‘cropping’ for better composition is often required, versus say landscape shots.
If it doesn’t pass the histogram, eye sharpness potential and composition opportunity, it’s normally deleted or may be moved to the bottom of the priority pile for a later day when I look at it with some fresh eyes.
10. Patience
My final tip to improve your wildlife photography is to be patient. Patience isn’t a virtue.. in wildlife photography, it’s a dam necessity. In nature, when in the field anything can happen, at any time…but most things happen only rarely, or at the very least, they rarely coincide with the exact time that you are in that specific spot. It is therefore imperative that you become patient…very patient.
Conclusion – African Wildlife Photography Tips
African Wildlife photography, indeed any wildlife photography, takes knowledge, patience, and lots of luck. But by following my 10 simple African wildlife photography tips, I am sure your wildlife photography will be taken to the next level and your wildlife photography skills will improve in leaps and bounds.
- African Wildlife Photography Tips - February 23, 2020
- Low Light Wildlife Photography - November 26, 2019
- Bonamanzi Game Reserve - November 21, 2019
