Low Light Wildlife Photography
Tips for Low Light Photography
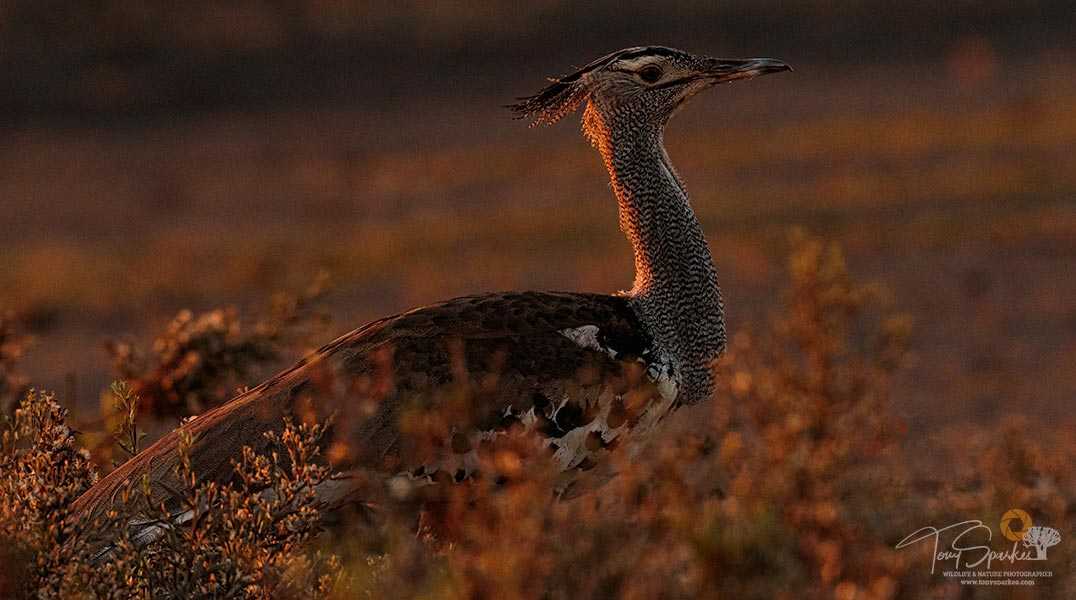
As wildlife photographers, we know that the soft and often ‘golden’ light that we crave and that sets those ‘creative’ wildlife photographs apart from those in many cases that are taken in the harsh midday sun comes at a cost.
That cost is the ‘ambient light‘ or the lack of it should I say. Its a fact that many animals are most active early in the morning just before or as the sun rises and also in the late afternoon and early evening as the sunsets. This post will not cover situations when the sun goes down and darkness falls, that will be for another post but just low light wildlife photography.
In this post, I would like to cover briefly things like low light photography without a flash, shutter speed settings for low light, the apertures for low light photography and how to take sharp photos in low light. These and similar questions are some of the challenges we face as wildlife and nature photographers when we ponder over what the best settings for low light photography are.
Making a descision
To help you make the right decisions and to understand that when light is very low, it is all about making the best of a “bad” situation. I know that sounds disastrous because, in fact, the light is often exactly how we as wildlife and nature photographers want it.
Usually, you’ll have to compromise something to achieve an exposed image that satisfies your requirements. Three things go towards an ‘exposure’ that you as the photographer will be happy with irrespective of the lighting conditions. They are Aperture, ISO and Shutter Speed, commonly known as the ‘Exposure Triangle’. For those who want a better understanding of this triangle take a look at my blog post on the subject, Exposure Triangle Explained.
Your First Decision
The first decision you must make is to get away from the Program (P) automatic or semi-automatic camera settings of shutter priority (Tv) and aperture priority (Av) on my Canon’s. Set your cameras to ‘M’ manual mode. This will allow the exposure triangle settings of Aperture, ISO and Shutter Speed to be set independently without the camera interfering with the exposure.
Apertures For Low Light Photography - Letting Light In
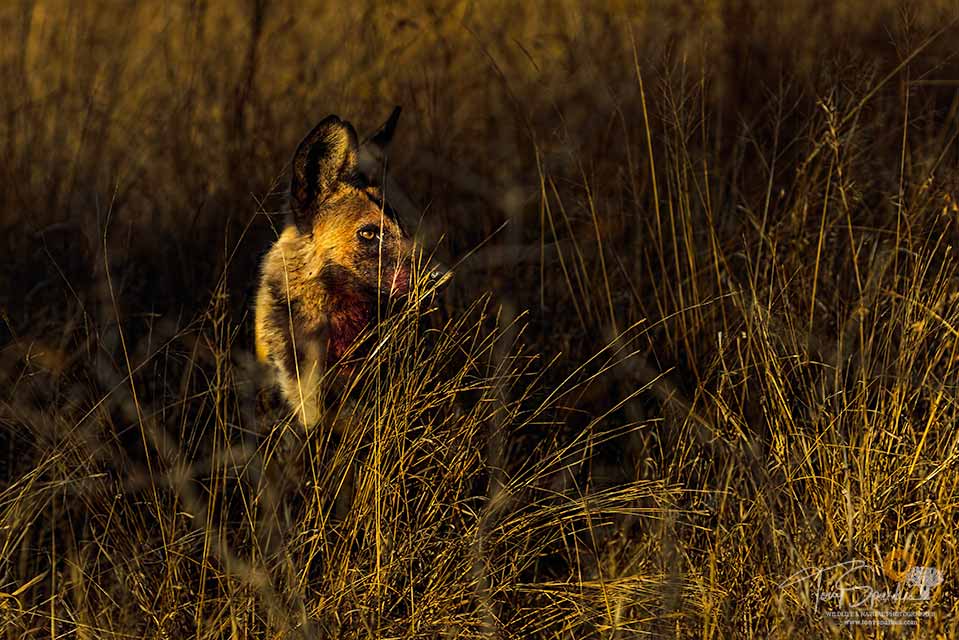
To give yourself the best chance of getting a sharp image and one you may want to add to your wildlife photography portfolio you will need to ‘open’ up your lens ‘aperture’ as wide as possible to let in as much of the available light.
Fast Lenses
That means the lowest number (the smaller f-number) on your lens. The best telephoto wildlife lenses will open up to f/2.8, thus letting in a greater amount of light and making your life a lot easier in dimmer conditions. These lenses are known as ‘fast lenses’. Not all lenses are sharp at their widest aperture, however, so you will need to do some homework to find out what’s best for your lens.
With today’s technology though, even fast lenses are getting less important as each new generation of digital cameras becomes more and more capable of shooting at higher sensitivity settings (ISO) without compromising the image quality too much.
I did say it was about making decisions and compromise!
Image Stabilisation
Some of the more expensive lenses will have what is called ‘image stabilisation’ (a Canon term). Other lens manufacturers will call it something else. Nikon, for instance, calls it VR or Vibration Reduction on their lenses. If your lens has this capability this should be ‘turned on’ if you are hand holding the camera. This will assist with camera shake and the use of lower ‘shutter speeds’ which I will address next.
Tripods – A Solid Platform
Of course where ever possible one should always use a solid tripod, vehicle mount or bean bag when shooting in low light conditions. Using a solid platform will greatly assist, as you will see later when we discuss the technique for how you take sharp photos in low light.
Aperture Tip:
Start with setting your lens to the widest ‘aperture’ your lens will allow.
Shutter Speed - How Low Can We Go
The longer (slower) the ‘shutter’ is open the more light will fall on the sensor. To freeze any ‘action’, though we often require a high enough shutter speed, especially when using long telephoto or zoom lenses.
A Simple Formula For Shutter Speeds
A good high ‘shutter speed’ is what would normally be required to ensure we avoid ‘camera shake’ with long lenses and thus a blurry image. However, with higher shutter speeds, we sacrifice less light falling on the ‘sensor’ and in low light wildlife photography, this can pose problems. One needs for the image to be exposed correctly or the underexposure of our image is normally the result if the shutter speed its to high.
As a ‘rule of thumb’ in wildlife photography (unless on a tripod or perhaps the use of image stabilised lenses) shutter speeds need to be approximately 1/ over the focal length of the lens being used. For example, if we were using a 500 mm lens, we should try and obtain where possible 1/500 sec shutter speed or more, a 300 mm 1/300 sec and so on to avoid a blurry image. I know this can be difficult when shooting in low light conditions.
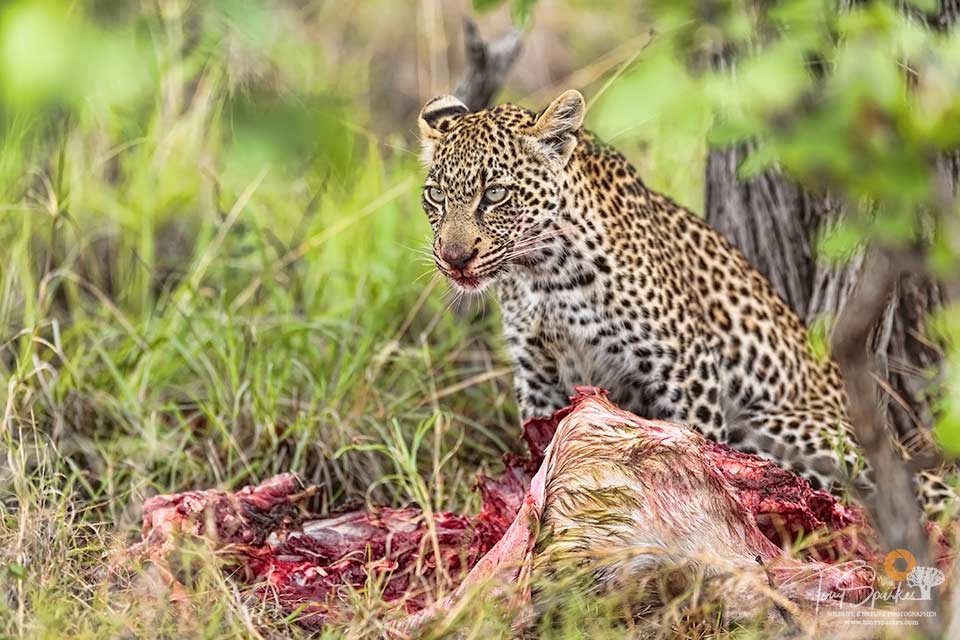
Shutter speeds like this however, like most things in photography is not always necessary or achievable. Take a look at my shot of the young Leopard on an ‘Impala kill’ taken in South Africa’s Timbavati Game Reserve. The leopard was in quite deep undergrowth, so the ambient lighting was quite low. Taking advantage of the situation because the Leopard was stationary for a few seconds, while it was transfixed on us and using my solid ‘vehicle camera mount’ I was able to get a sharp image using these settings Focal length: 300 mm, Aperture: F3.5 , ISO: 400, Shutter Speed 1/125 Sec. Note the shutter speed is well below the focal length of my lens.
Use What is Available
If you have one to hand use a tripod or bean bag, their use reduces camera shake, allowing for slower ‘shutter speeds’ to be used. This means your shutter can stay open longer letting more light fall on the sensor. Equally, image stabilisation that comes with more and more lenses these days can help to stabilise shots at slower speeds, especially if handheld. Although sometimes this can be detrimental if used as well as a tripod and I do not recommend using lens ‘stabilisation’ with a tripod.
As I demonstrated, if your options are limited, and if the animal you’re photographing is not moving very much, then you can afford to use a much slower ‘shutter speed’. Another little tip. It is a good idea to take a burst of frames when shooting at slow speeds like this, as you are then much more likely to have one that is sharp.
Questions
So there are a few factors that will determine your ‘shutter speed’ setting. How steady can you hold your camera? Is your subject sitting still or moving about? Does your lens have image stabilisation? Are you using a tripod or solid base? These are all questions you should be asking yourself if you are faced with a ‘low light’ situation as these factors and or lack of them will have a big impact on the shutter speed of choice.
Shutter Speed Tip:
Start with setting your shutter speed to 1/ over the focal length of your lens you are using. Don’t forget that those photographers that have an APS-C crop sensor in their camera should allow for the cropping factor when selecting a shutter speed.
ISO - Its Such a Sensetive Thing
The final piece to the puzzle to succeed with low light wildlife photography is ISO. The ISO setting represents your camera’s sensitivity to light. The higher the ISO the better you can shoot in lower light conditions.
However, there is a trade-off, as most times in wildlife and nature photography when situations get a little difficult. In this case, the trade-off is noise. Digital noise and grain is introduced into your images as you increase the ISO setting but this may be your only option in certain situations and thus unavoidable I always advocate that its better have some noise in your image , than to end up with blurry image because your shutter speed was to slow.
Modern Cameras
Modern cameras today have good ISO performance. What I mean by this is that you can easily push the ISO setting on these camera’s up to ISO 2000 or possibly even more without to much unacceptable noise or grain being introduced into your image. Make sure you know the ISO capabilities of your camera before shooting in low light conditions, as then you can have a good idea of how far you can push your equipment.
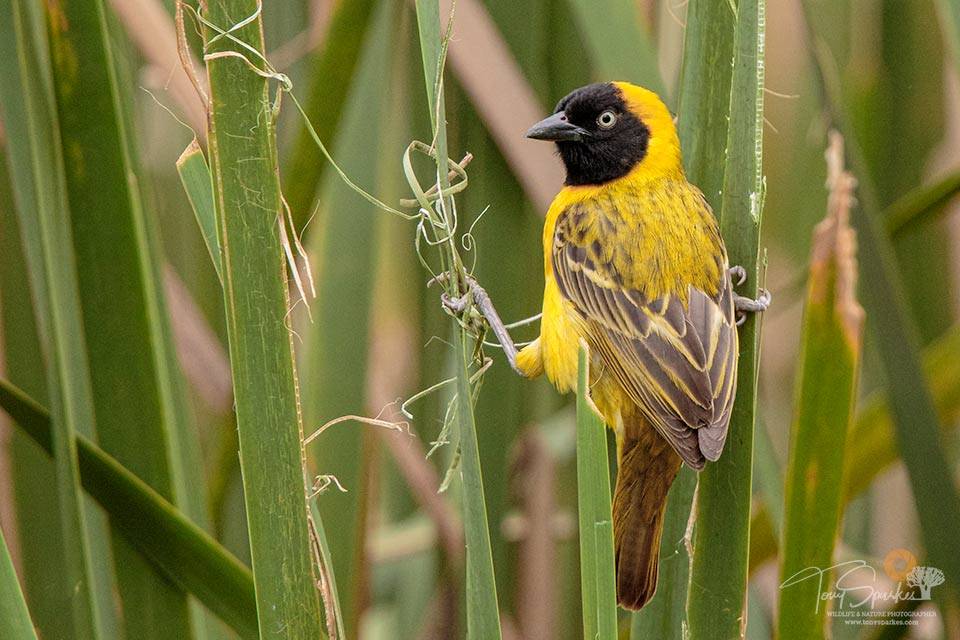
Take a look at the image of the Lesser Masked Weaver, you see that I have pushed the ISO to ISO 2000 but still managed to get an acceptable shot after running the image through a post-editing process in Lightroom.
You will find that some cameras perform badly at higher ISO’s, resulting in very noisy images, while others can perform much better. This is a case of you get what you pay for generally – cameras with better ‘sensors’ will produce less noise at a given ISO settings.
Lets do it in Post
If you keep your ISO value low, you will probably end up with a slow shutter speed. The result could well be a blurred image, and that is no use. It is better to be brave, pump up the ISO and cope with some degree of noise and at least you then have a usable photograph.
Post Production
You can to quite varying degrees remove digital noise and grain in post-production. Manipulation software like Adobe’s Lightroom and Photoshop software do a pretty good job of removing noise and grain. You can also get a whole range of noise reduction plugins and stand-alone programs that will do the job of removing digital noise in post-processing.
ISO Tip:
I suggest setting your ISO between 400 – 800 as a good starting point. Try a few shots and adjust up and or down accordingly.
Conclusion - Experimentation is The Key to Success
I have suggested what I consider good starting points for aperture, shutter speed and ISO for your low light wildlife photography. The three elements work together to give you an exposure that’s acceptable to the photographer under low light conditions.
To assist further you should after your shots look at your camera’s histogram. Viewing the camera’s histogram will give you the information you require as a photographer to make those small adjustments necessary in your current set up to ensure correct exposure and a better chance to take a ‘keeper’
If you are not familiar with reading your camera’s histogram I suggest you read my post ‘How to Read and Image Histogram‘ before you embark on any low light photography quest.
- African Wildlife Photography Tips - February 23, 2020
- Low Light Wildlife Photography - November 26, 2019
- Bonamanzi Game Reserve - November 21, 2019
